


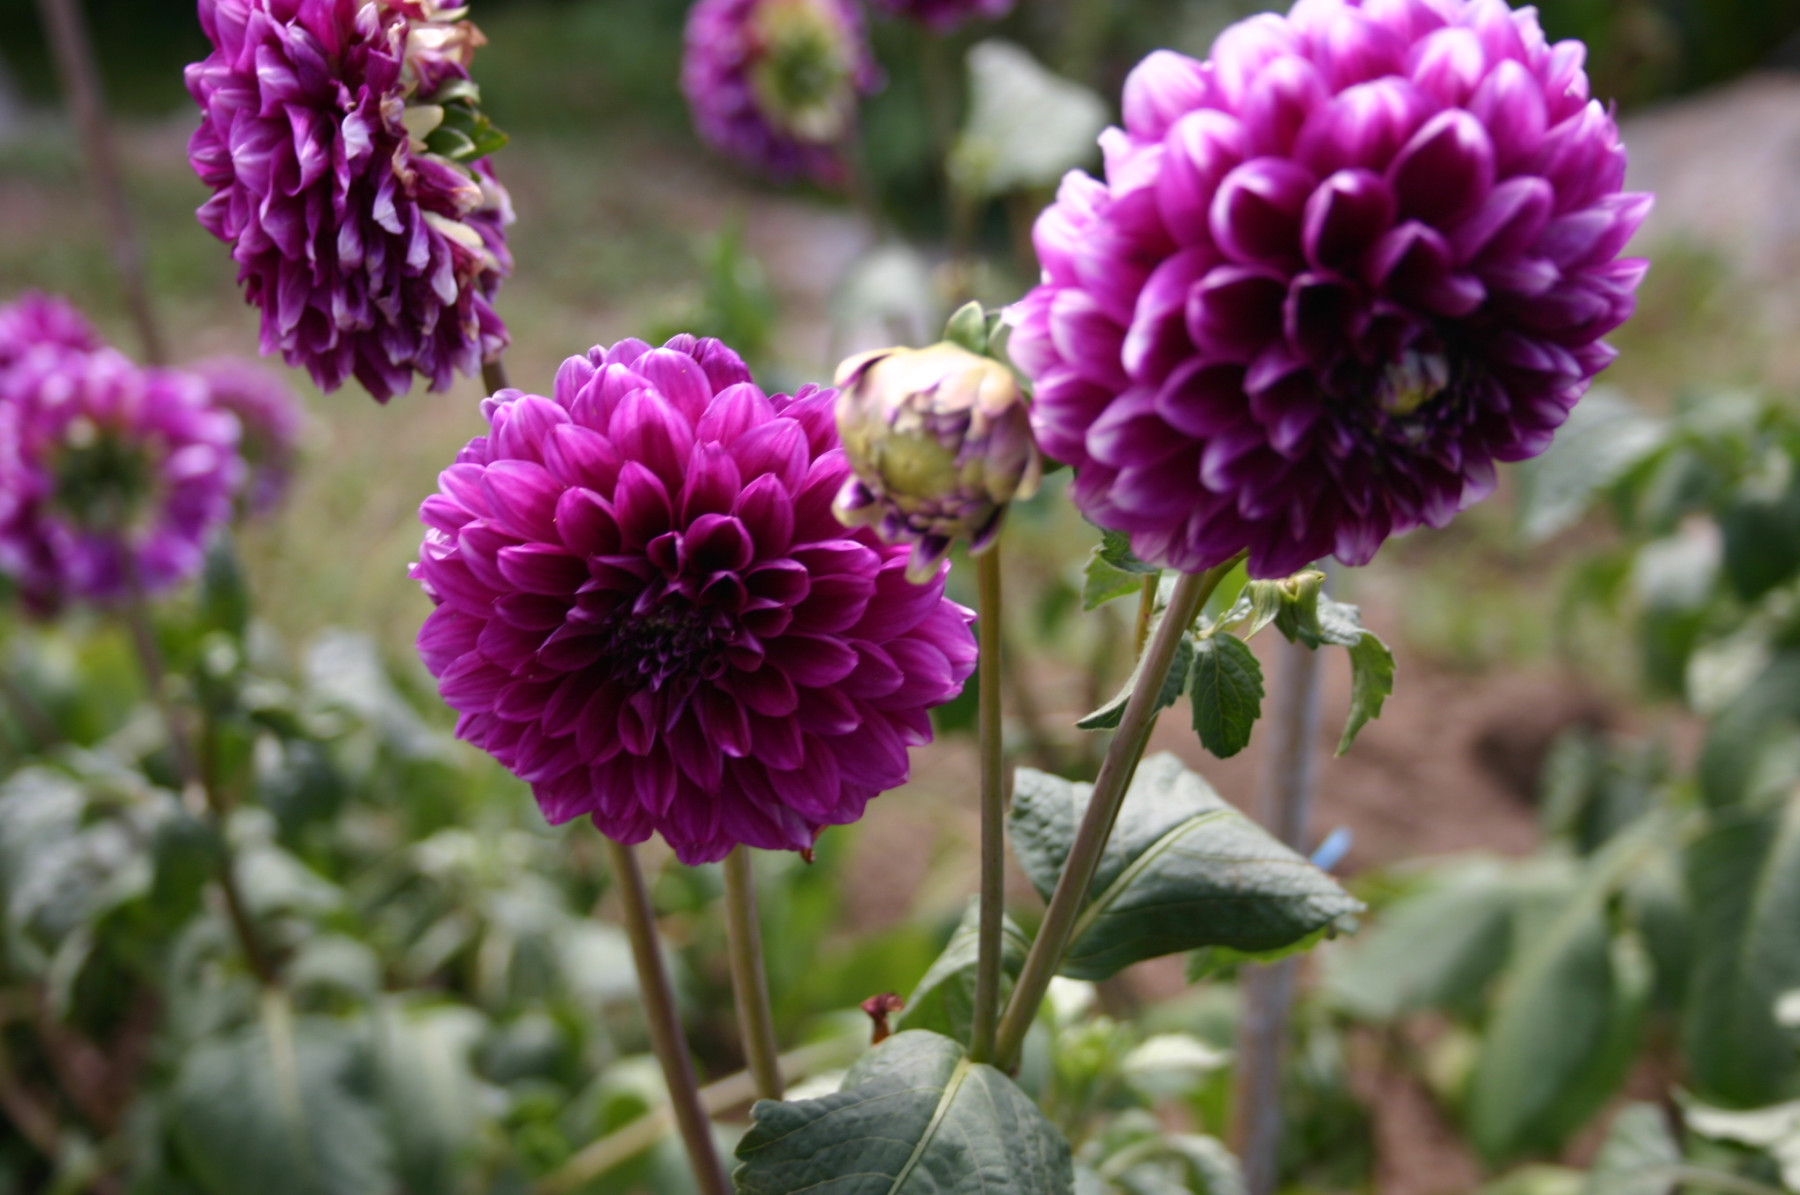
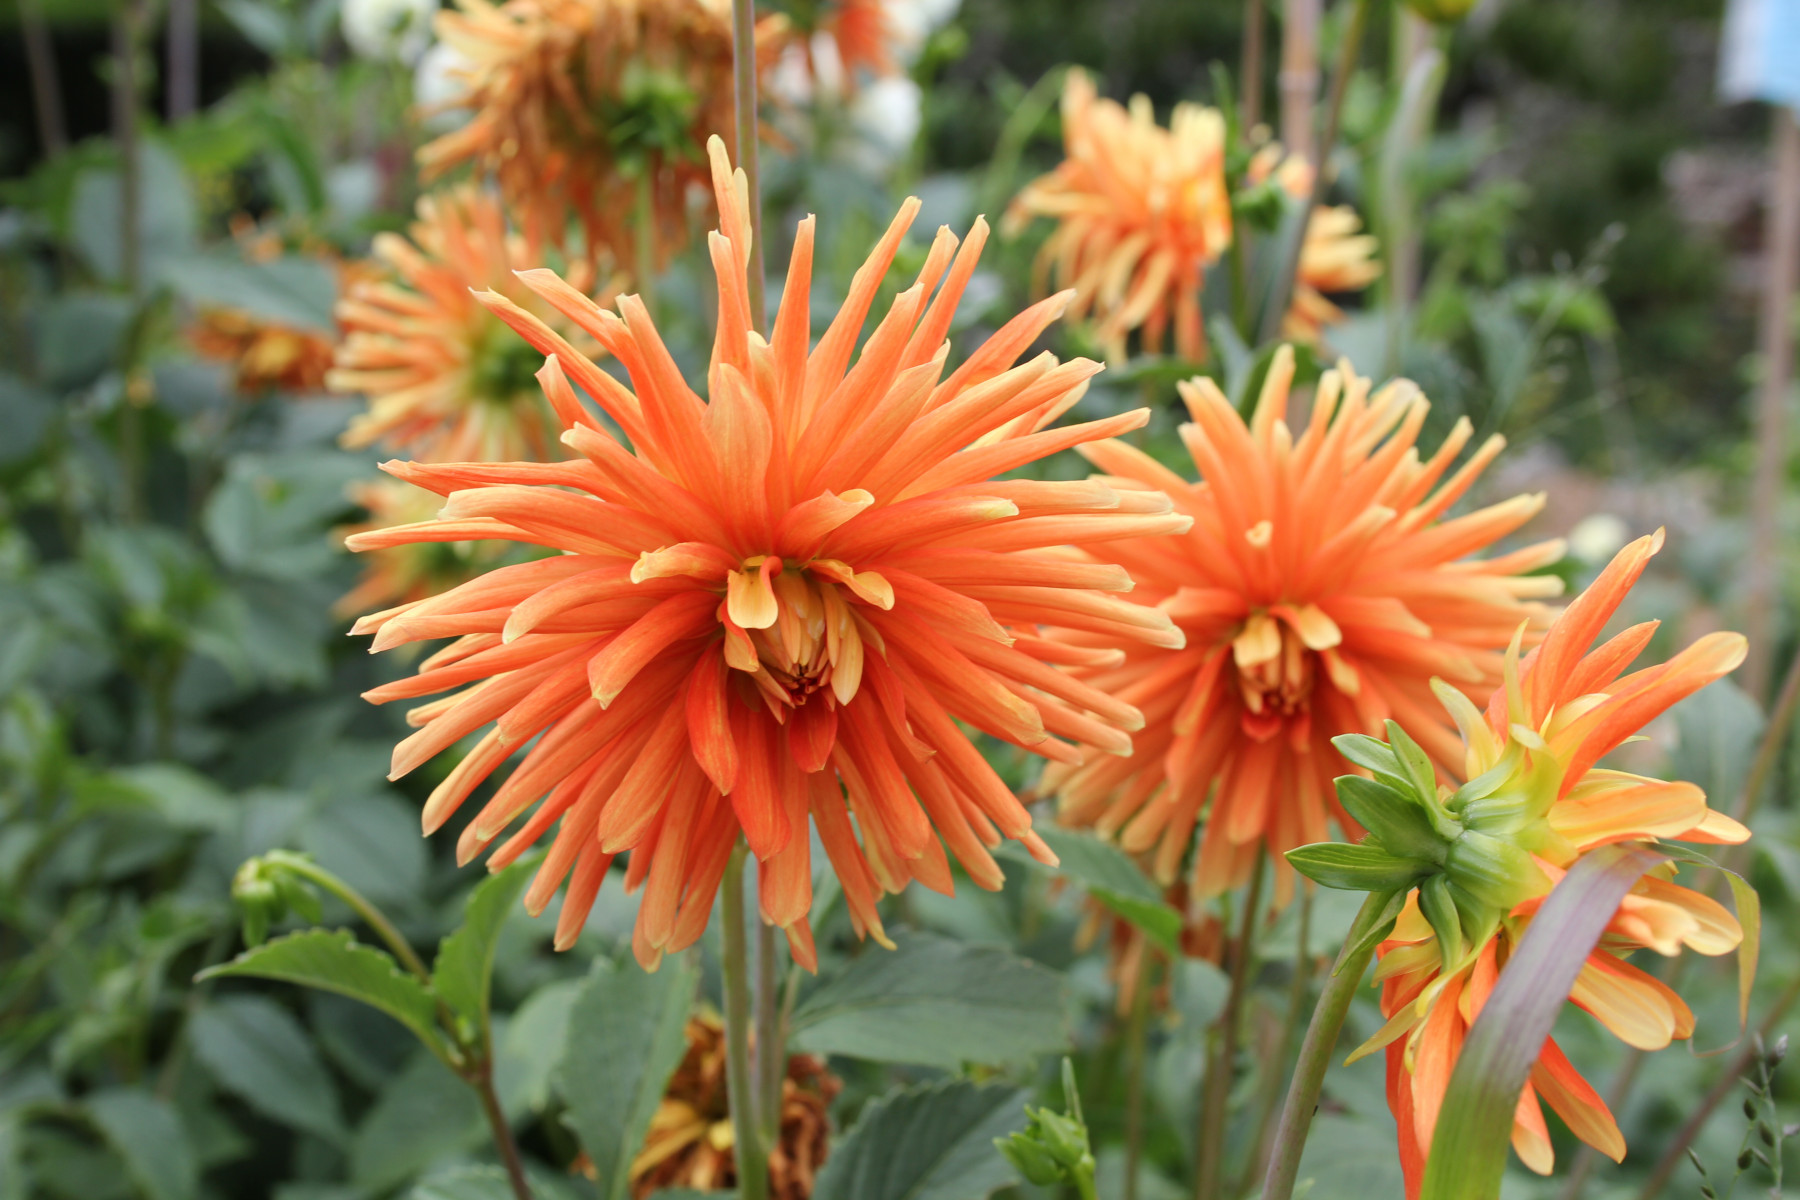
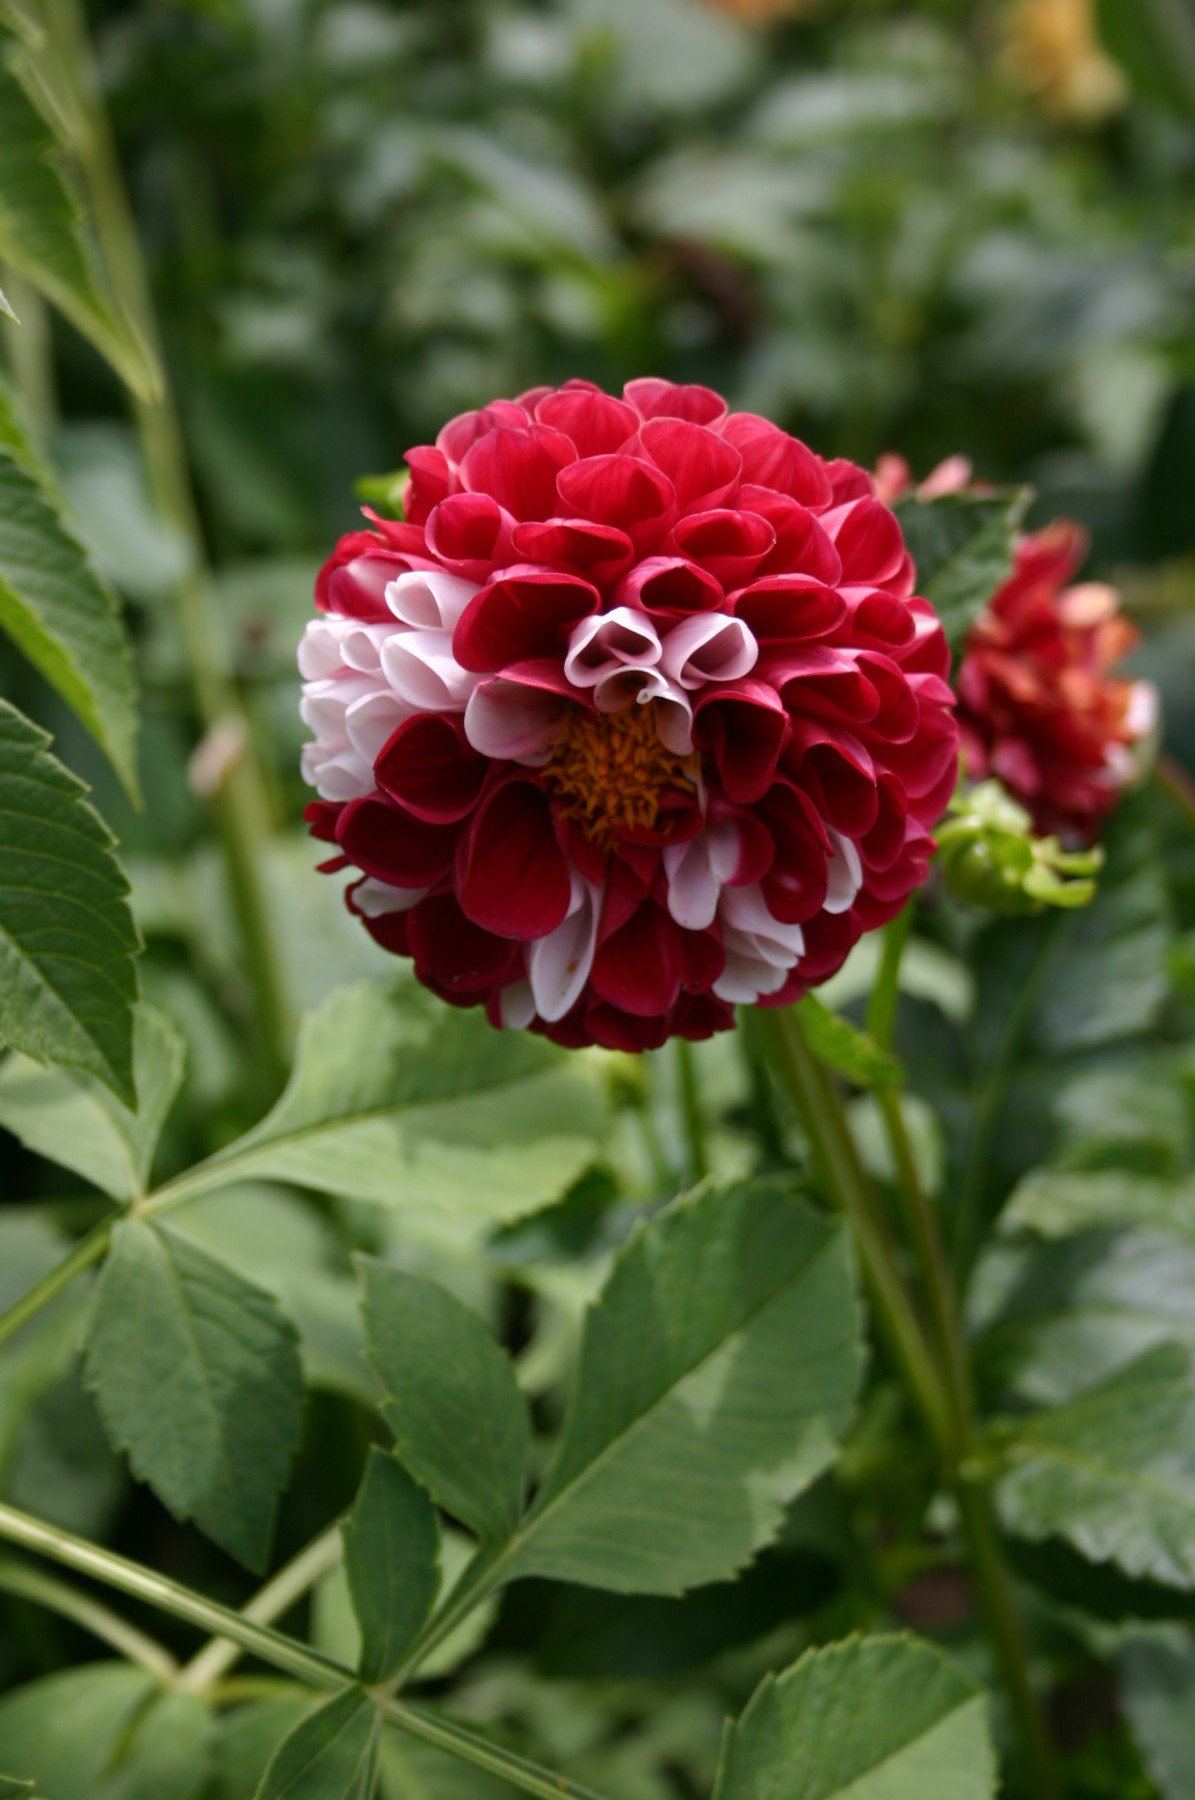
Dahlias come in many colors, shapes, and sizes, which is a major reason for their popularity. If you’re a fan of huge flowers, you can grow dinner-plate variety dahlias, with blooms up to a foot across. If compact blooms are your preference, you can grow small, pompom dahlias with tight flowers balls only about two inches in diameter. Between these two extremes is a large assortment of other dahlia types. Even gardeners who have grown dahlias for years are almost always finding something new to add to their collection.
Dahlias originally came from Mexico, which tells you they like to be warm. Consequently, a greenhouse is an ideal place for starting dahlias about a month or two before putting them outdoors. Dahlias can also be cultivated year-round in a greenhouse if it is suitably heated in winter.
All dahlias are grown from tubers, which are thickened, underground portions of stem with buds that develop into plants. Each dahlia plant produces a clump of tubers, and each tuber is able to produce another plant. So when planting dahlias, each bud-bearing tuber is separated off from the clump.
To start dahlias in a greenhouse, a large container works well. I use a painter’s mixing tray about 36”x30”x8” deep that is filled with potting soil, into which I set individual tubers about two inches deep in late February. If I keep the tray warm, green shoots sprout in about two weeks. If you plan to grow your dahlias in individual containers, the tubers can now be replanted into separate pots. For dahlias intended to be transplanted into flower beds outdoors, the shoots can simply be left to grown in the original container. In Rhode Island, I aim for an outdoor planting time of mid to late May, at which point the dahlias are about 12 to 15 inches tall. This is a perfect height for deer to munch on, so the dahlia bed must be fenced off! For best plant growth, the soil in the bed should be well drained, high in compost, and slightly acidic. I fertilize the plants about once a month with a general-purpose fertilizer.
For dahlias that I want to grow in individual containers, I put a single, sprouting tuber in a 9”-12”-diameter pot filled with potting mix. The wider pots are better not just for tuber growth, but also for stability in an area like mine where strong winds can blow off the ocean. Once potted, I feed the plants with a general-purpose fertilizer or one that is slightly higher in potash, such as 5-10-10, which encourages good root growth. Dahlias don’t like to be wet, so the potting soil should be kept on the dry side.
Clumps of dahlia tubers that have developed in outdoor garden beds will not survive the winter, so in late October or early November they must be taken out the ground. After pulling up the plant along with its tubers, cut off the upper stem. Then rinse the soil off the tubers, dry them, and store them in an area where they won’t freeze but that is also not too moist. I lost all my dahlia tubers one year by storing them in my greenhouse where the humidity was too high and promoted rot. Some growers set their dahlia tubers in sand or peat moss for the winter to prevent them from rotting.
Planting, harvesting, and storing dahlia tubers year after year does require time and effort, which increases with the number of tubers you buy or produce yourself. But when summer comes and you have a display of these beautiful, brightly colored, and long-lasting flowers, the work put into growing them will seem well worth it.